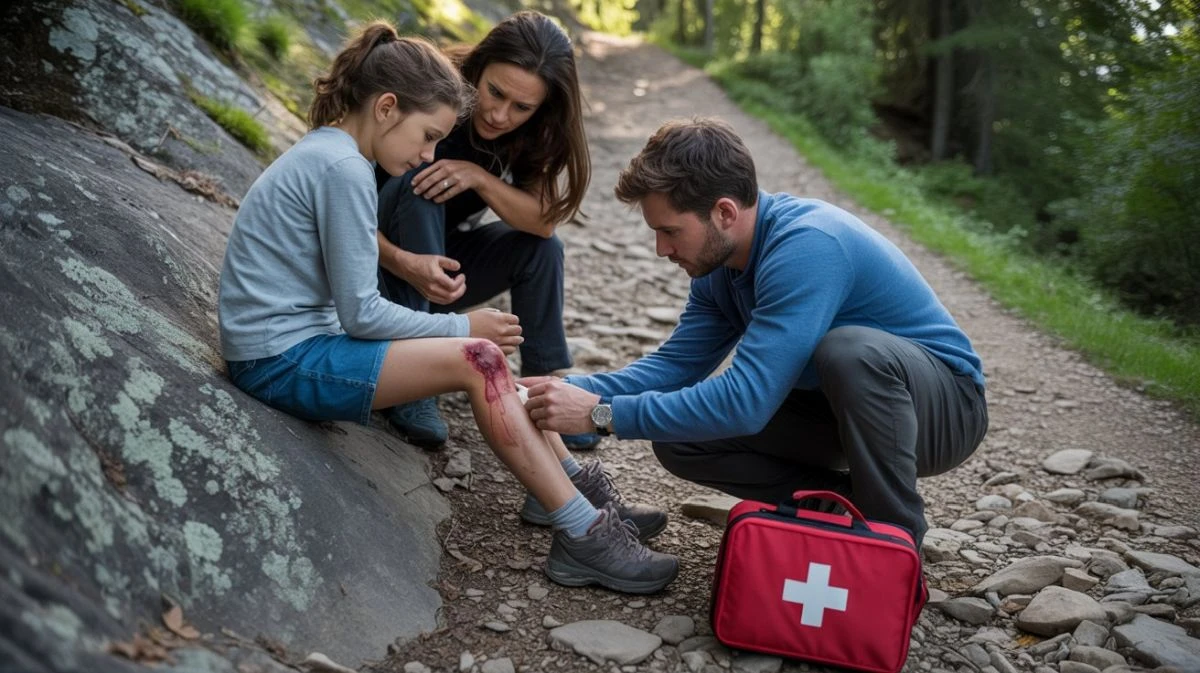
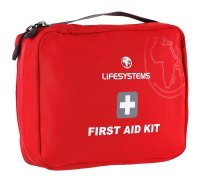
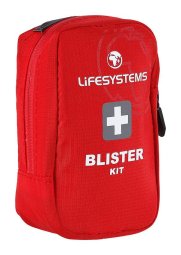
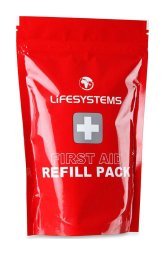
As the saying goes, misfortune doesn't just happen in the mountains, but to people. And indeed, an injury or a sudden health complication can happen to any of us, whether we are heading to majestic mountain peaks, quiet deep forests, wild waters, or just enjoying a relaxing picnic outside the city. It is for these unpredictable moments that your gear should never be without a reliable outdoor first-aid kit. You might be thinking it's just another unnecessary burden. But believe us, even a seemingly trivial scrape or an unexpected fall can turn an otherwise perfect day into an unpleasant complication. With the right choice and careful packing, a first-aid kit becomes your reliable helper, ready to intervene whenever needed. In this comprehensive guide, we will show you how to choose a first-aid kit tailored to your needs, how to pack a first-aid kit with all the essentials, and how to care for it to ensure it's always 100% functional. Let's get started, to make your adventures as safe as possible!
Contents:
- Why an Outdoor First-Aid Kit is the Foundation of Every Expedition
- How to Choose the Right Outdoor First-Aid Kit: A Step-by-Step Guide
- What Must Not Be Missing in Your First-Aid Kit, or How to Pack It
- Recommendations on How to Get the Most Out of Your First-Aid Kit
- Frequently Asked Questions When Choosing a First-Aid Kit
- Travel Safely with an Effective First-Aid Kit
Why an Outdoor First-Aid Kit is the Foundation of Every Expedition
Imagine an outdoor first-aid kit not as an ordinary box of plasters, but as a miniature insurance policy for your health and well-being in crisis situations and places where civilization and quick help are not readily available. Unlike a home first-aid kit, which can be bulky and full of glass bottles, or a car first-aid kit, whose contents are strictly defined by regulations and primarily intended for dealing with the consequences of traffic accidents, the outdoor version is designed with the specific needs of being in nature in mind. It must be compact, lightweight, durable, and contain supplies for dealing with typical "outdoor" mishaps – scrapes, blisters, insect bites, sprains, but also more serious injuries.
How to Choose the Right Outdoor First-Aid Kit: A Step-by-Step Guide
Choosing the right first-aid kit is the first and crucial step towards your safety. It's not just about "having one," but having one that matches your activities, the length of your trips, and the number of people involved. Let's look at the key factors you should consider.
Size and Capacity
The size of the first-aid kit should be directly proportional to the difficulty and length of your journey, as well as the number of people it is intended for.
| Trip Type / Number of People | Recommended First-Aid Kit Size | Approximate Volume (liters) | Key Features |
| Day Trip (1-2 people) | Small | 0.5 - 1 L | Basic equipment, lightweight, compact |
| Weekend Trip (1-2 people) | Medium | 1 - 2 L | Extended equipment, still relatively lightweight |
| Multi-day Trek (1-2 people) | Medium to Large | 2 - 4 L | Comprehensive equipment, space for personal medication |
| Family Trip (3-4 people) | Medium to Large | 2 - 4 L | Equipment for children, larger quantity of consumables |
| Group Expedition (5+ people) | Large / Multiple Small Kits | 4+ L or multiple sets | Sufficient equipment, possibly divided among members |
Tip: Remember, it's better to have a little more material than to be missing something in a critical moment.
Material and Durability of the Case
The case of the first-aid kit is its first line of defense. It must protect the sensitive contents from adverse weather and mechanical damage.
-
Water-resistance vs. Waterproofing:
-
Water-resistant materials (e.g., nylon with PU coating, Cordura) and quality zippers (ideally rubberized or covered) will protect the contents from normal rain or moisture. They are suitable for most common outdoor activities.
-
Waterproof cases (e.g., welded materials, roll-top closures, special waterproof zippers) are essential for water sports (canoeing, kayaking, rafting) or in extremely humid environments.
-
-
Impact and mechanical damage resistance: Stronger materials and possible padding will help protect more fragile contents. The quality of seams and zippers is also important.
-
Color and visibility: Bright colors (red, orange, signal yellow) make it easier to find the first-aid kit in a backpack or if it falls on the ground, especially in low visibility.
Weight and Portability
Every gram counts on longer hikes, climbing, or cycling.
- Look for a compromise between robustness, capacity, and weight.
- Manufacturers often use lightweight yet durable materials.
Tips for minimizing weight:
- Take only the necessary amount of medication (e.g., a blister pack instead of the whole box).
- Consider multi-functional items (e.g., a triangular bandage).
- If you choose an empty first-aid kit, opt for lighter versions.
Tip: For safety and comfort during hiking, a quality hiking backpack or trekking pack with a functional back system is essential. To help you navigate these specialized backpacks, we have prepared a guide to choosing a trekking pack and an article with tips for selecting a hiking backpack.
Pre-filled vs. Empty First-Aid Kit
You have two basic options: buy a pre-filled first-aid kit or get an empty case and fill it yourself.
-
Assembled First-Aid Kit:
-
Advantages: Convenience, time-saving, basic equipment is all together and well-thought-out by the manufacturer. Often more cost-effective than buying individual items. Ideal for beginners or those who want to be ready quickly.
-
Disadvantages: The contents may not 100% match your specific needs or activities. Pre-filled kits may contain lower-quality components or items you won't use.
-
-
Empty First-Aid Kit (and DIY assembly):
-
Advantages: Full control over the contents, ability to choose high-quality components according to your own preferences and the needs of the activity. Ideal for experienced adventurers or people with special requirements.
-
Disadvantages: Requires more time for planning and purchasing individual components. It can be more expensive.
-
What Must Not Be Missing in Your First-Aid Kit, or How to Pack It
A properly assembled first-aid kit content is the key to its functionality. It's not about having as many things as possible, but having the right things for typical situations you might encounter in nature. Consider the following list as a base that you can further customize. For exotic destinations, we recommend consulting a doctor.
Wound Care: This is the cornerstone of any travel and hiking first-aid kit.
-
Disinfectant:
-
Liquid disinfectant (e.g., Betadine, Povidone-iodine) – effective, but can sting.
-
Disinfectant spray (e.g., Dettol, Bactine) – easy application, often doesn't sting.
-
Disinfectant wipes (single-use, pre-moistened) – ideal for cleaning the area around a wound or hands.
-
-
Plasters:
-
Various sizes and shapes: classic strips, square, round.
-
Waterproof plasters: to protect the wound from moisture.
-
Blister plasters (hydrocolloid): an absolute must for hikers! They create a protective cushion and promote healing.
-
Adhesive tape roll (without a pad): for securing dressings, splints, or emergency equipment repairs.
-
-
Sterile dressings (gauze squares):
-
Various sizes (e.g., 5x5 cm, 7.5x7.5 cm, 10x10 cm) for covering larger wounds.
-
-
Bandages:
-
Elastic bandage: for immobilizing joints (ankle, knee), creating a pressure dressing to stop bleeding. Various widths.
-
Conforming (hydrophilic) bandage: for securing sterile dressings.
-
Cohesive (self-adherent) bandage: great, sticks to itself, not to the skin.
-
-
Triangular bandage: Versatile use – for immobilizing a limb, as an improvised dressing, for creating a sling.
-
Wound closure strips: for pulling the edges of smaller cuts together.
-
Adhesive tape (e.g., cloth tape, kinesiology tape in an emergency): for extra fixation, taping, repairs.
Medications: Always respect the recommended dosage and any contraindications!
-
For pain and fever:
-
Paracetamol (e.g., Tylenol, Panadol)
-
Ibuprofen (e.g., Advil, Motrin) – also has anti-inflammatory effects.
-
-
For diarrhea:
-
Activated charcoal – first choice, binds toxins.
-
Loperamide (e.g., Imodium) – slows down intestinal peristalsis (use with caution).
-
-
For allergies (antihistamines):
-
Systemic allergy (tablets, drops, e.g., Zyrtec, Claritin, Allegra) – for hay fever, allergic reactions.
-
Topical (gel, cream, e.g., Benadryl cream) – for bites, mild skin reactions.
-
-
For motion sickness:
-
Can be useful for motion sickness in transport on the way to the start of the adventure (e.g., Dramamine, Travel-Gum).
-
-
Personal medications: DO NOT FORGET! If you regularly take prescription medications (for heart, blood pressure, diabetes, asthma, etc.), take a sufficient supply, ideally with a small reserve. Keep them in their original packaging with the package insert.
Tools and Supplies:
- Scissors: Small, sharp, ideally with a rounded tip for safety (for cutting plasters, bandages, clothing).
- Tweezers: With a sharp tip for removing splinters, thorns, or possibly for removing ticks (although special tick removal cards/hooks are better for ticks).
- Disposable gloves (latex, nitrile): At least 2 pairs to protect yourself and the injured person from infection.
- CPR mask/shield: For safe artificial respiration.
- Emergency blanket (thermal blanket): Lightweight, compact, protects against hypothermia (silver side towards the body) and overheating (gold side towards the body, reflects heat).
- Small headlamp or flashlight: Invaluable for treatment in the dark or at dusk. Even if you have a main headlamp, a small backup in the first-aid kit is useful.
- Notebook and pen/pencil: For recording information about the injury, administered medications, times, or for writing a note in an emergency.
Other useful accessories (at your discretion and depending on the type of activity):
- Repellent: Against mosquitoes, ticks, and other pesky insects.
- Sunscreen with a high UV factor: Even if the sun is not shining directly, UV radiation is intense in the mountains or near water.
- Lip balm with UV protection: Prevention of chapped and sunburned lips.
- Burn gel/foam (e.g., with panthenol, aloe vera): For sunburn or minor burns.
- Water purification tablets/drops: For longer trips to areas with uncertain water quality.
- Glucose tablets, energy gel/bar: A quick source of energy when exhausted.
- Magnesium: Against cramps.
- Hand sanitizer gel: When water and soap are not available.
Remember that the equipment of a travel first-aid kit should always be adapted to the length of stay, destination, and planned activities. The contents of a first-aid kit for the mountains will differ slightly from the contents of a first-aid kit for cyclists.
Tip: Hydration is the alpha and omega of every expedition. Without sufficient fluid intake, even a perfectly equipped first-aid kit won't help you. To prevent dehydration, invest in a quality bottle or a sports backpack with space for a hydration reservoir.
Recommendations on How to Get the Most Out of Your First-Aid Kit
- Easy accessibility: Keep the first-aid kit in your backpack in a place where you can quickly and easily get it out, even when the backpack is full. The top pocket or a special compartment is ideal.
- Extra protection and organization: Consider dividing the contents of the first-aid kit into smaller waterproof bags or zip-lock bags by category (e.g., dressing materials, medications, tools). This will provide additional protection against moisture and even better clarity.
- "Emergency pack": For a really quick response, you can create a small pack with a few plasters, a disinfectant wipe, and maybe a painkiller tablet, which you can keep handy (e.g., in your pants pocket or on the hip belt of your backpack).
- Inform others: If you are traveling in a group and have a shared first-aid kit (or even if everyone has their own), it's a good idea for others to know where you have it stored.
- Personal medications are a priority: We repeat again – if you take prescription drugs, ALWAYS have a sufficient supply with you. Their absence can be critical.
- Important contacts: Keep important phone numbers in your first-aid kit (or in your phone and on a piece of paper): local emergency services, contact person.
- Don't forget prevention: The best injury is the one that doesn't happen. Be careful, adapt your plans to the current conditions and your abilities. Safety in the mountains and in nature in general starts with you.
Frequently Asked Questions When Choosing a First-Aid Kit
- What are the recommended dimensions for a hiking first-aid kit?
A hiking first-aid kit should be compact, yet contain all the necessary items. Ideal dimensions range around 15 x 10 x 5 cm for a basic personal first-aid kit and 20 x 15 x 10 cm for a family or group version. - How often should I check and restock the contents of the first-aid kit?
It is recommended to check the contents of the first-aid kit at least twice a year, ideally before the main summer and winter seasons. When checking, focus on the expiration dates of medications and sterile materials, replenishing used items, and adapting the contents to current needs. After each use of the first-aid kit, it is necessary to replenish the used items as soon as possible. - What special equipment should be added to a first-aid kit for winter sports?
For winter sports, it is advisable to supplement the standard equipment of the first-aid kit with a few special items. Include a thermal reflective blanket to retain heat if needed, heat packs activated by bending, special ointments for frostbite, petroleum jelly to protect lips and face from the cold, and products for treating skin after sunburn (even in winter, there is a risk of sunburn due to reflection from the snow). - How to use a first-aid kit for common injuries in nature?
When using a first-aid kit in nature, it is important to remain calm and proceed systematically. First, assess the severity of the injury - in case of serious injuries, call emergency services. For minor injuries, start by cleaning the wound with clean water or disinfectant, then cover the wound with a sterile gauze and secure it with a bandage. For scrapes and minor cuts, use appropriately sized plasters. In case of a sprain, apply a cold pack and immobilize the limb with an elastic bandage. For burns, apply a special ointment and cover with a sterile dressing.
Travel Safely with an Effective First-Aid Kit
A properly selected and carefully packed outdoor first-aid kit is much more than just a set of medical supplies. It is your personal insurance, a symbol of preparedness, and an investment in your own safety and well-being on your travels. Whether you are planning a short walk in the woods, a challenging mountain crossing, or a cycling trip, do not underestimate its importance. The knowledge that you are prepared to face minor and major inconveniences will allow you to enjoy the beauty of nature with greater peace of mind and confidence.
We hope our guide has helped you figure out how to choose and pack a first-aid kit so that it perfectly suits your needs. Remember that a responsible approach to adventure also includes taking care of your own health.

